
How To Remove Concrete Landscape Curbing: Safe Demolition Methods and Tools
If you're researching concrete curbing options, you're likely tired of re-edging your beds every spring, fighting weeds along your borders, or dealing with plastic edging that never seems to stay in place. We understand—maintaining clean landscape lines shouldn't be a constant battle.
At Wolfrath's Curb, we've been solving these problems for Wisconsin homeowners and businesses through professionally installed concrete curbing. Our extruded borders stay put through harsh winters, keep mulch where it belongs, and eliminate the need for annual re-edging. But beyond the practical benefits, the style you choose dramatically impacts your property's appearance.
Let’s take a closer look at our most popular concrete curbing types so you can find the right match for your landscape.
1. Natural Stone Curbing
There are several reasons why a homeowner or business in Wisconsin might decide to remove existing concrete curbing:
- Damage from freeze-thaw cycles: Improperly installed or low-quality curbing can crack, shift, or heave over time, especially with Wisconsin's dramatic seasonal changes.
- Landscape redesign: Even well-installed curbing may need to be removed when you're changing your property's layout or garden configuration.
- Complete overhaul: A full landscape renovation often requires starting fresh with new borders.
- Upgrading to higher-quality edging: You may want to replace outdated edging with a more modern and durable solution.
Whatever the reason, removing old curbing is the first step toward a fresh and updated look for your property. While it can be labor-intensive, it's a manageable task with the right approach and tools for a determined DIYer. However, for extensive or complex removal jobs, we always recommend consulting us to ensure the work is done safely and efficiently.
Essential Tools for Curbing Removal
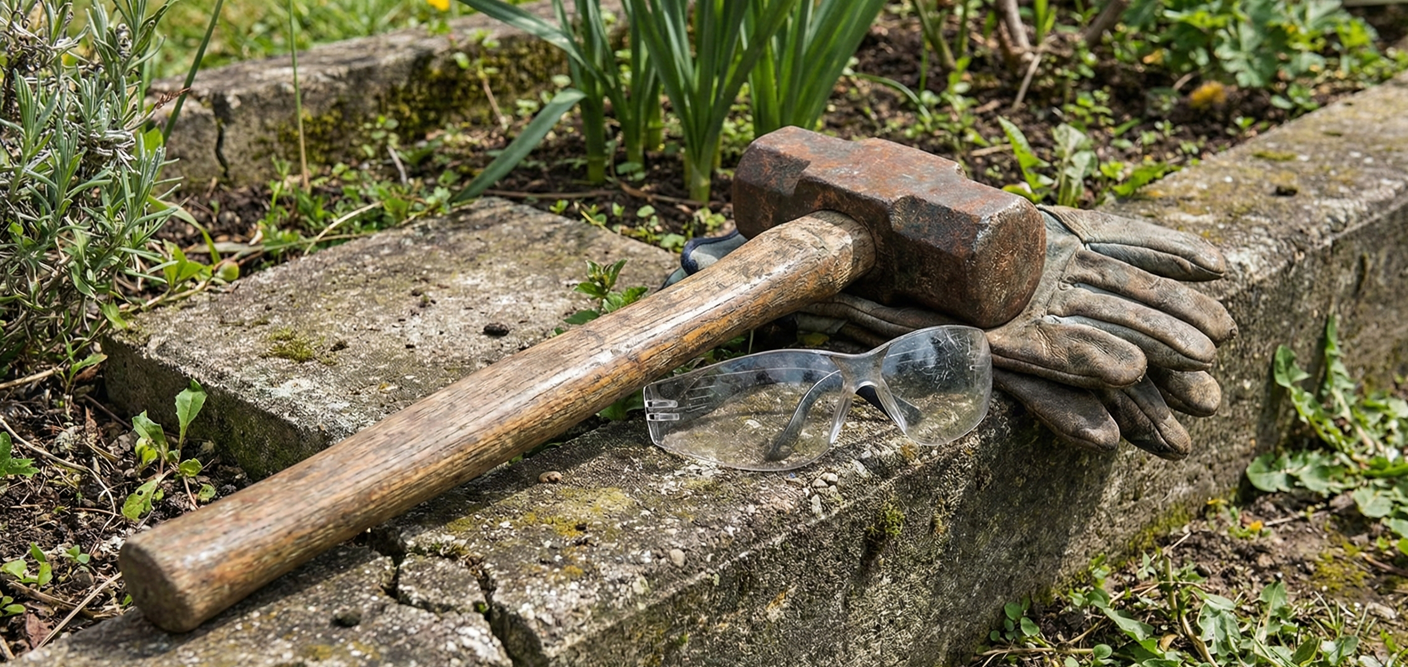
Gathering the right tools is essential for safe demolition. You'll need heavy-duty gloves, safety glasses, steel-toed boots, a sledgehammer (8–12 pounds), a pry bar or pickaxe, a shovel and wheelbarrow, and bolt cutters if the curbing includes steel reinforcement.
Most decorative concrete curbing is fiber-reinforced rather than steel-reinforced, but older or commercial installations may contain rebar or cable. An electric jackhammer is optional for larger or thicker installations. Proper safety equipment protects you from flying concrete chips and dust, which can cause serious injury if not handled carefully.
Step-by-Step Guide to Removing Concrete Curbing
Once you have your tools and safety gear ready, you can begin the removal process. Follow these steps for a safe and effective demolition:
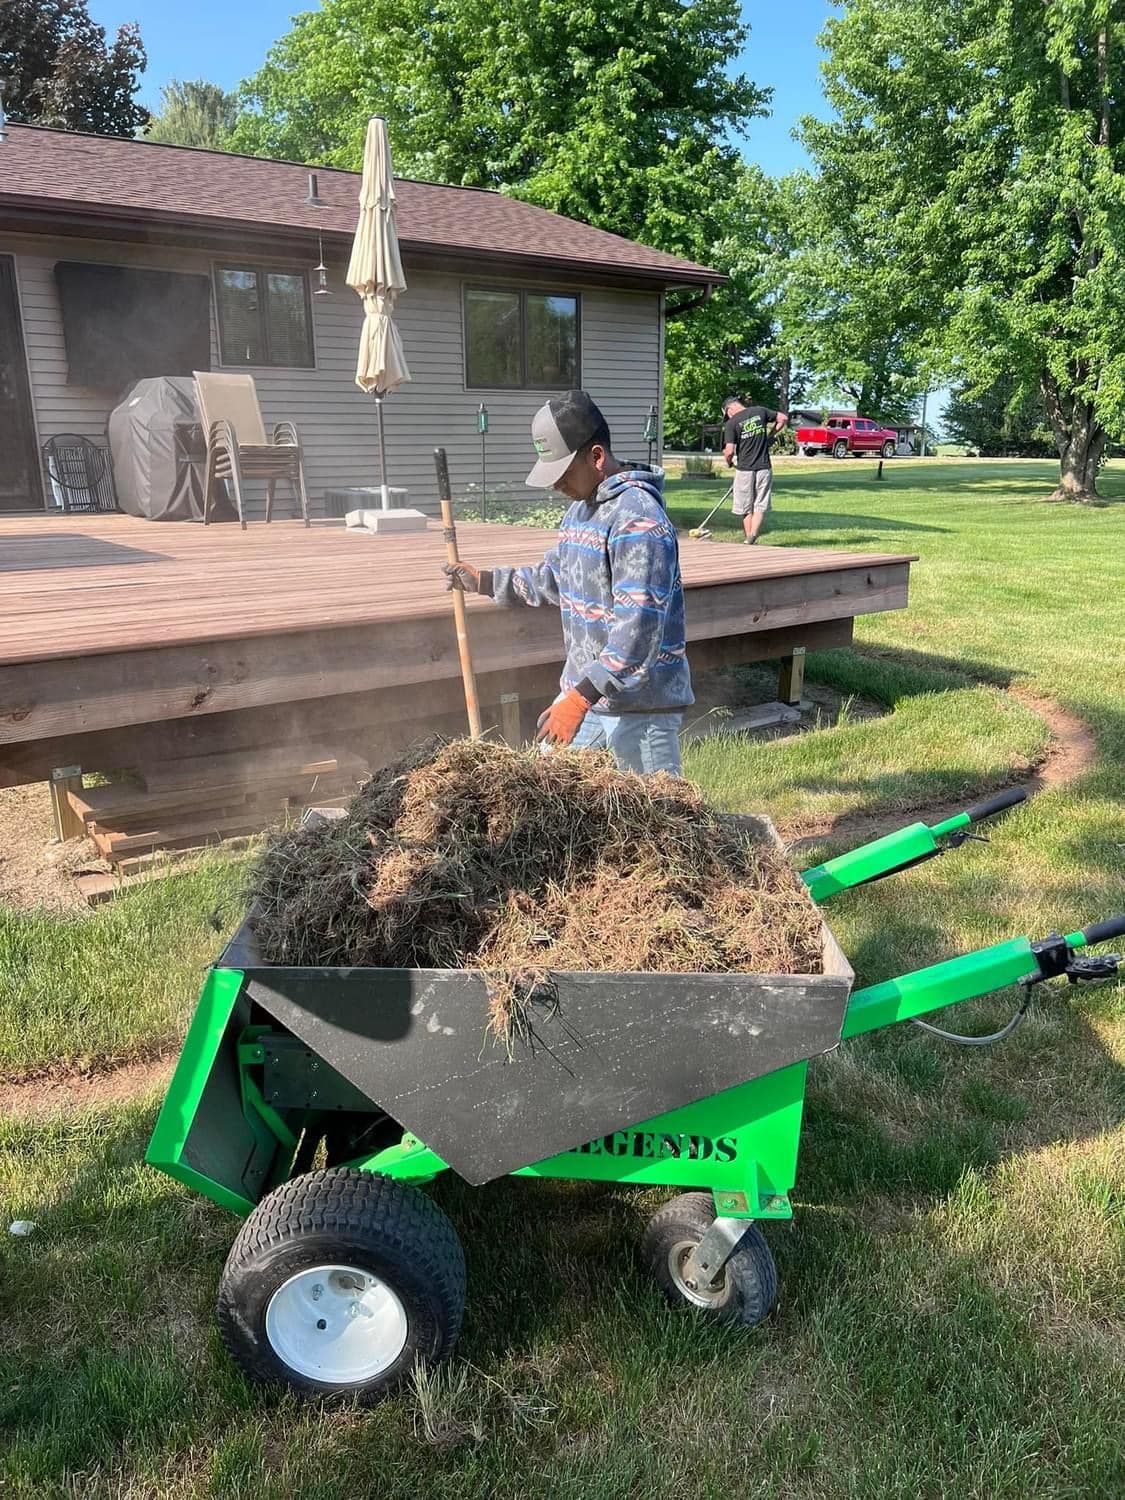
1. Prepare the Area
Start by clearing the area around the curbing. Remove any mulch, rocks, or soil that may be covering the base of the curb. This will give you a clear view of what you're working with and provide a stable footing. It's also a good idea to protect any nearby plants or structures with a tarp to shield them from flying concrete chips.
2. Start Breaking the Concrete
Using your sledgehammer, begin striking the top of the curb with firm, controlled swings. Start at one end and work your way along the length of the curbing. The goal is to create cracks and break the curb into smaller, more manageable pieces. Be mindful of your surroundings and ensure no one is nearby while you’re swinging the sledgehammer.
For those who find the sledgehammer too strenuous, an electric jackhammer can make the job much easier. Use a chisel bit to break the concrete apart at regular intervals. This approach is especially helpful for older, thicker, or commercial-grade curbing that was poured continuously.
3. Pry and Lift the Sections
Once you’ve broken the curbing into smaller sections, use your pry bar or pickaxe to lift them out of the ground. You may need to use some force to loosen stubborn pieces, especially if they are deeply embedded in the soil. If steel reinforcement is present, you’ll need bolt cutters to snip the metal as you remove each section.
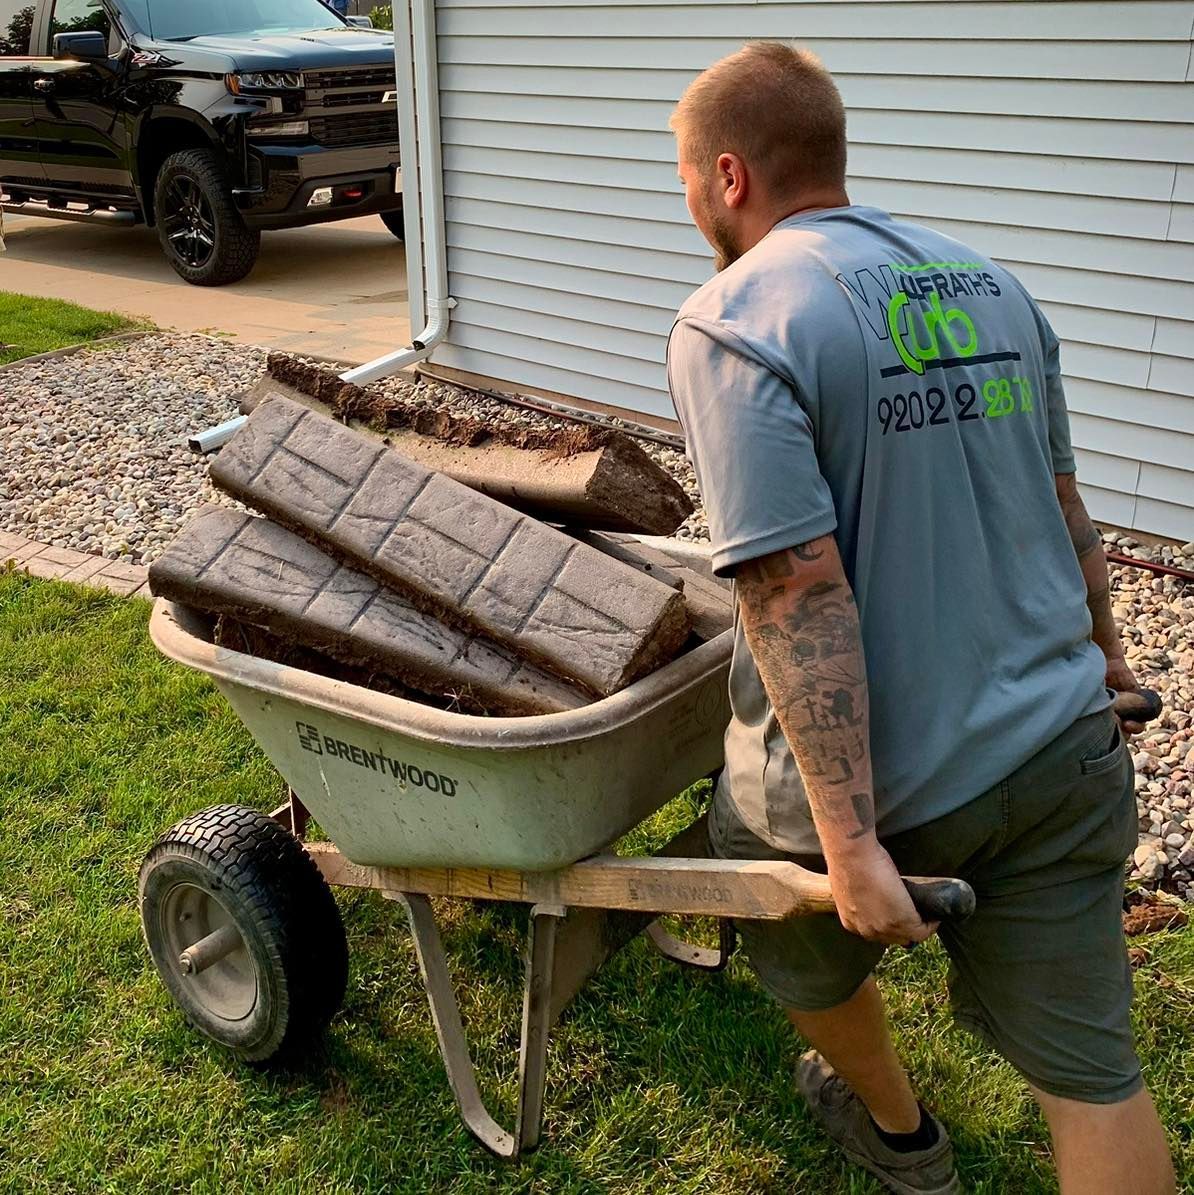
4. Dispose of the Debris
As you remove the concrete, place the pieces in a wheelbarrow for easy transport. It's important to have a plan for disposal. Many local waste management services in Wisconsin have specific guidelines for disposing of concrete.
You may need to take it to a designated construction and demolition debris facility. Some recycling centers also accept clean concrete, which can be crushed and reused as aggregate. Check with your local municipality for the best disposal options in your area.
When To Call the Professionals
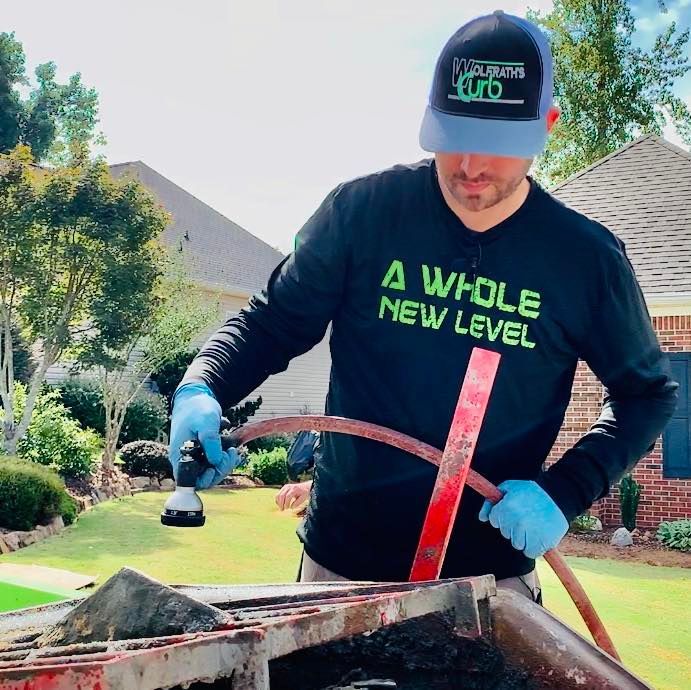
While removing concrete curbing can be a DIY project, there are situations where professional help is best. If the curbing is extensively reinforced, poured in long continuous runs, or located near underground utilities, our team at Wolfrath's Curb can handle removal and installation as part of our comprehensive process.
After removal, you'll have a blank canvas for a new landscape design. Consider upgrading to high-quality concrete curbing. Explore
our gallery for inspiration, then
contact us for a free estimate.